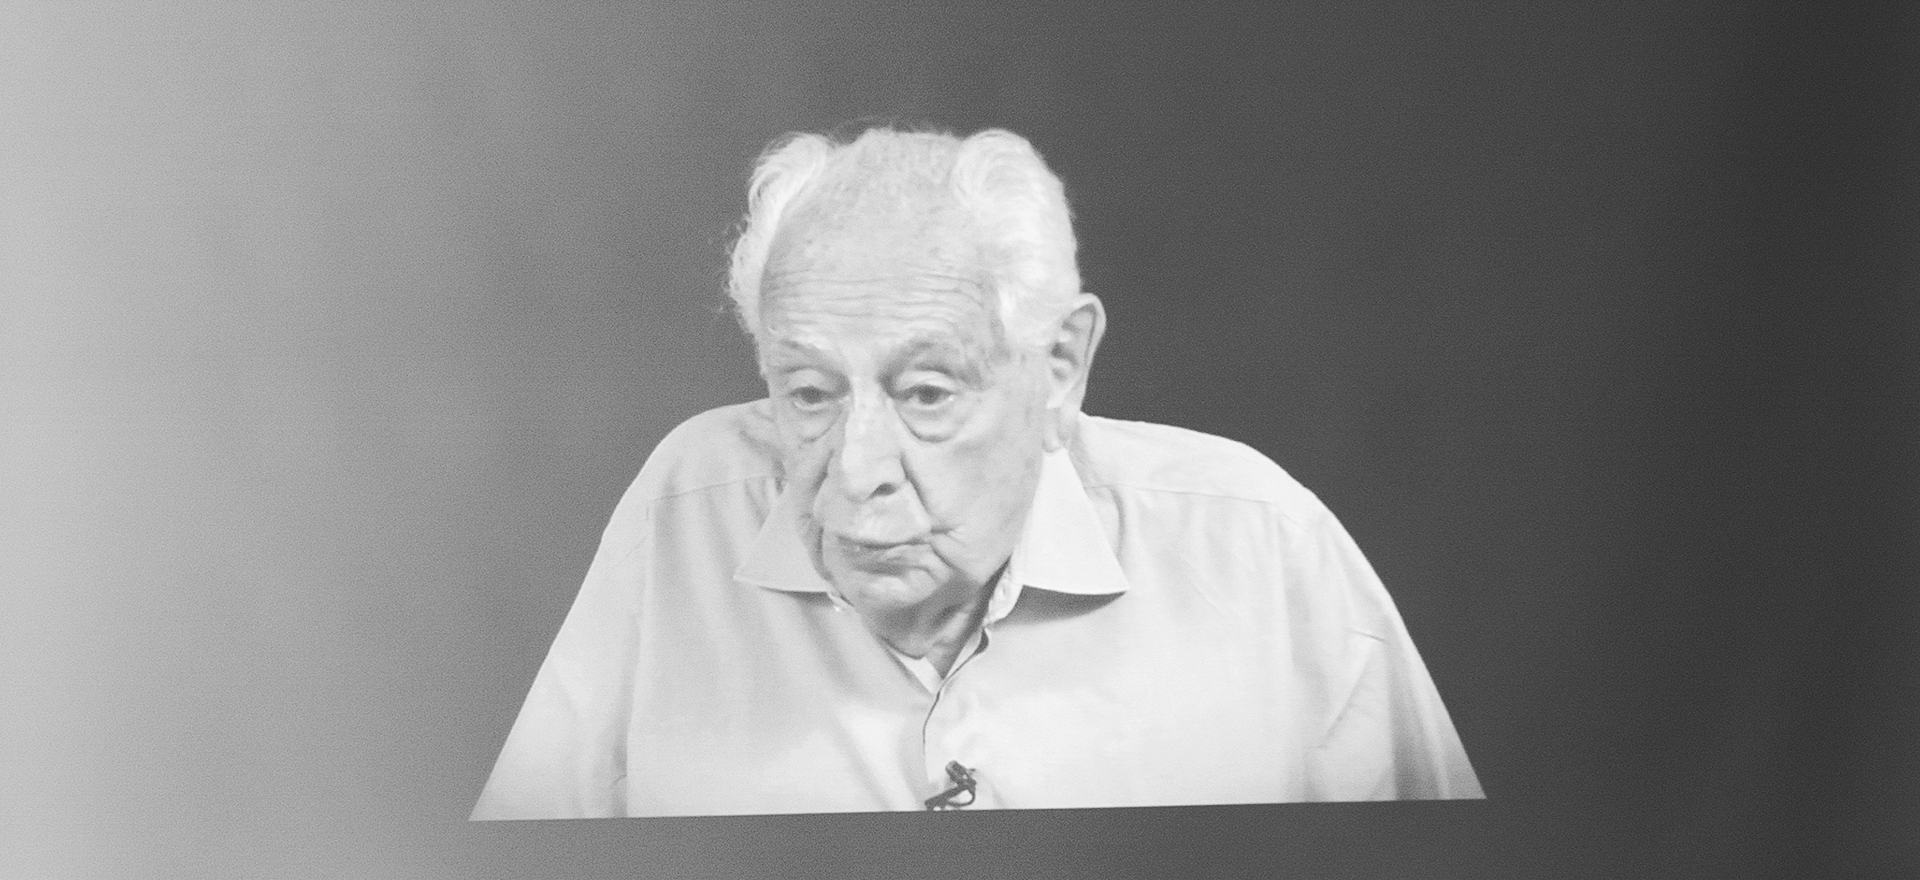
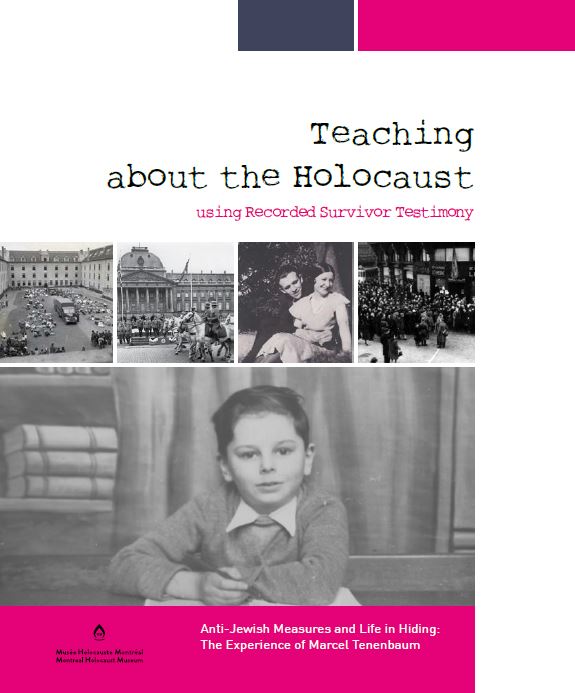
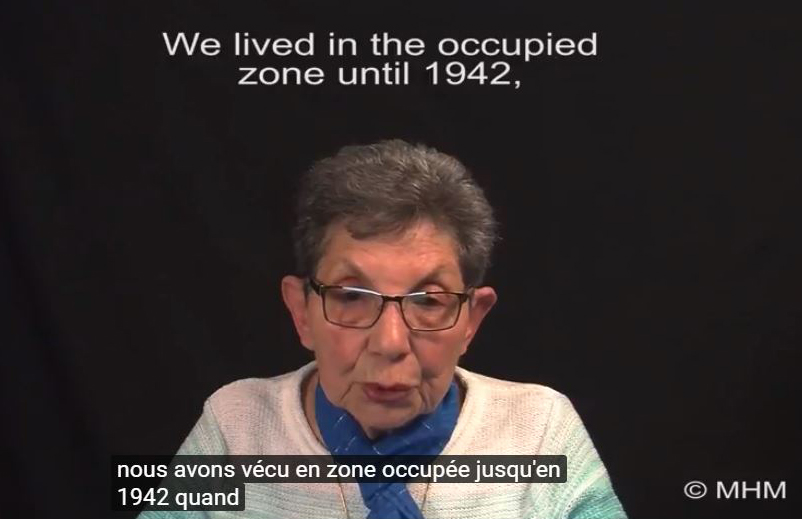
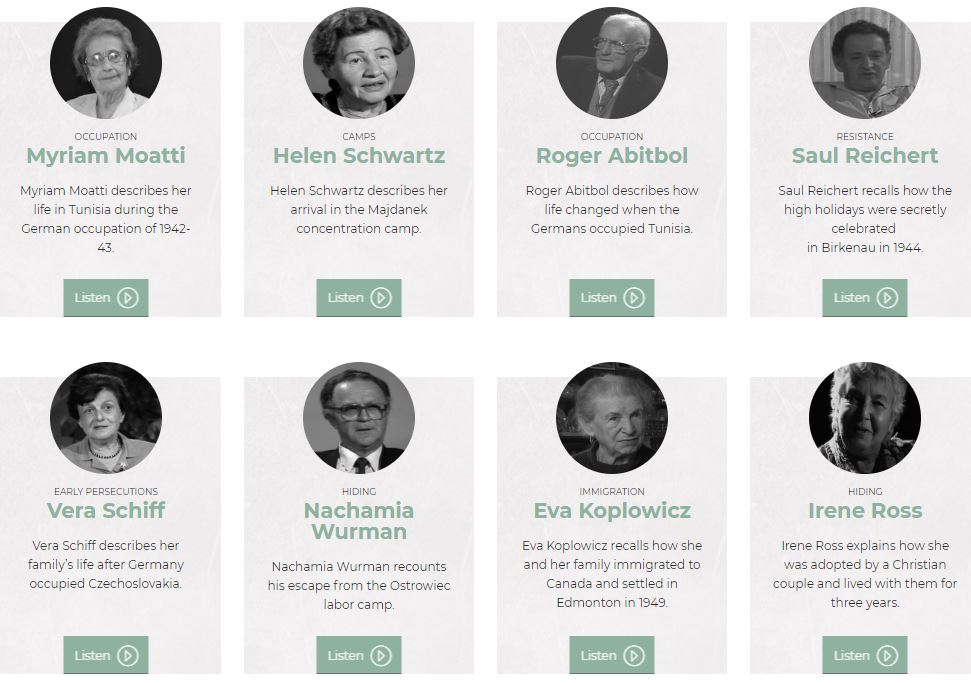
This article is part of the Teaching about the Holocaust Using Recorded Testimony educational program.
Why use Survivor Testimony to Teach about the Holocaust?
Teaching with testimony enables students to:
1. Develop an interest in history
- By putting a face to the facts, dates, and numbers: history is made and experienced by individuals
- By understanding that history has a direct impact on the lives of individuals and their communities
- By learning that they personally play a role in history. Most survivors who gave their testimonies were children or adolescents during the Holocaust. Students can identify with stories from a youthful perspective, and engage with history on a more personal level.*
- By using a medium that speaks to students: video
- By developing students’ critical thinking
2. Improve their understanding of the Holocaust
- Understanding how Jews lived before, during, and after the Holocaust
- Learning the reality and diversity of individual experiences during the Holocaust
- Understanding how history can impact individuals. For example, students can recognize the psychological, physical, economic, and religious impact caused by persecution, trauma, and displacement during and after the Holocaust
- Learning and understanding the different behaviors of individuals facing extreme situations: resilience, solidarity, collaboration with the oppressor, resistance or inaction, all motivated by fear, hope, compassion, etc.
- Discovering stories of non-Jews who risked their lives to help save Jews during the Holocaust
3. Promote inclusiveness and acceptance
- Developing students’ empathy, enabling them to better understand people of varying cultures, or those who have been labelled as “different”
- Helping students who have difficulty reading or writing by making them feel included in the educational activity. They may feel more invested in projects including oral history.
- Addressing a dark and complex historical event with younger students without traumatizing them. To achieve this, teachers can choose age appropriate excerpts of testimonies which will also enable students to understand how lives were disrupted and destroyed during the Holocaust.
* Source: “Le témoignage du survivant en classe – 16 fiches pédagogiques“, Conseil de l’Europe, 2009
Seven Tips for Teaching with Recorded Survivor Testimony**
1. Create a rationale
Be clear about your educational objectives, and why you are using video testimony to teach students about the Holocaust. Consider the following questions before showing the videos to your students: What do you wish to accomplish? Where and how can the clips be integrated into your learning and evaluation situations about the Holocaust or other genocides?
2. Provide historical context
Before watching the video clips, ensure that your students learn about the history of the Holocaust and the specific circumstances of each individual’s life from the supporting documents.
3. Introduce the video before screening
Introduce the clip by briefly describing the circumstances in which the story occurs, for example: living with a false identity and/or in hiding; being separated from one’s parents; participating in the resistance, etc.
4. Ask a question or establish an angle from which the video can be viewed and analyzed, prior to screening it.
5. For older students – On interpreting and analysing historical memory
Explain to your students that the story conveyed is a personal interpretation of the individual’s lived experience. They may speak about historical truths, such as living in a ghetto, or present exceptional events, such as escaping from camps. This is an opportunity for students to understand the many different elements offered by testimony.
6. Have the students watch the video clips more than once.
This will enable them to listen more carefully, re-read the subtitles, and note any items that they did not understand.
7. Provide ample time for discussion
After watching the clips, encourage students to reflect on and discuss their responses to the videos.
** Source: The information here is adapted from the USC Shoah Foundation Institute For Visual History and Education’s document “Consideration and Guidelines for the Use of Visual History Testimony in Education”.
Learn more about teaching the Holocaust with survivor testimony
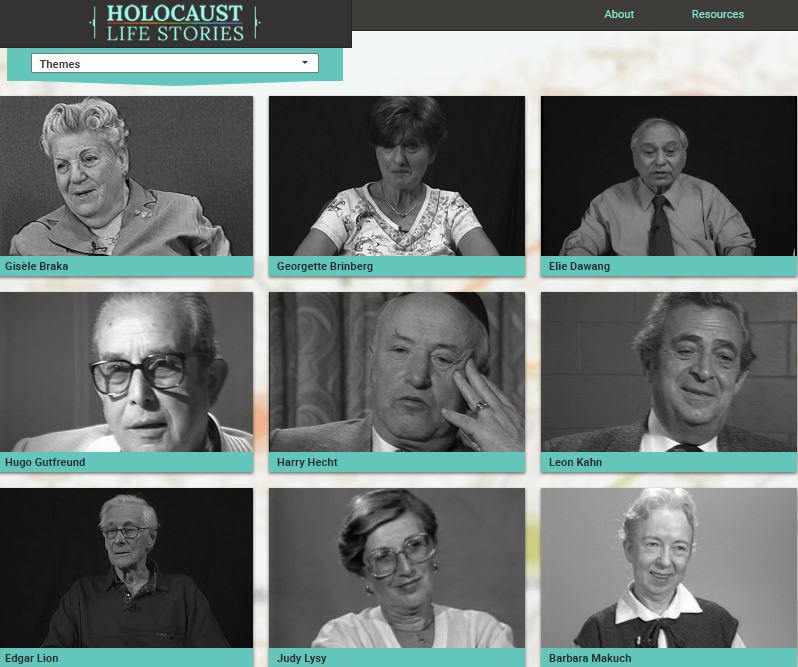
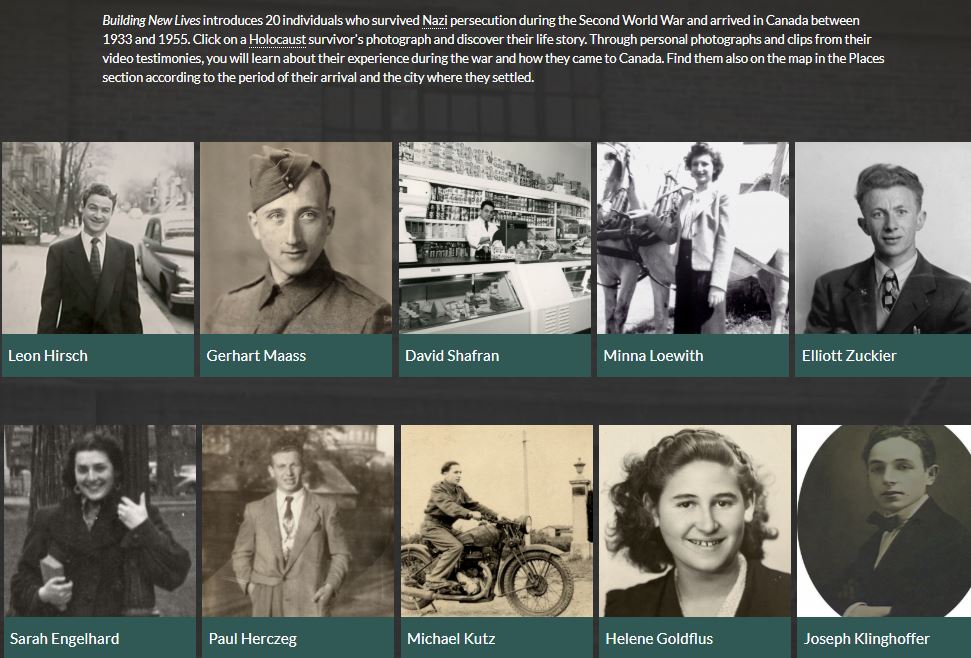
You can download our Teaching about the Holocaust Using Recorded Survivor Testimony educational program for elementary and high school students, watch video testimonies on the Museum’s YouTube channel, consult the Museum’s “Survivor’s Stories” collection, visit our “Holocaust Life Stories” virtual exhibition as well as our “Building New Lives” virtual exhibition about Holocaust survivors who immigrated to Canada, and use our “Video Testimony Analysis Sheet” to help your students in their reflection process. It is also possible to reserve a live survivor testimony at the Museum after a group visit.
Consult the Teaching about the Holocaust Using Recorded Survivor Testimony activity